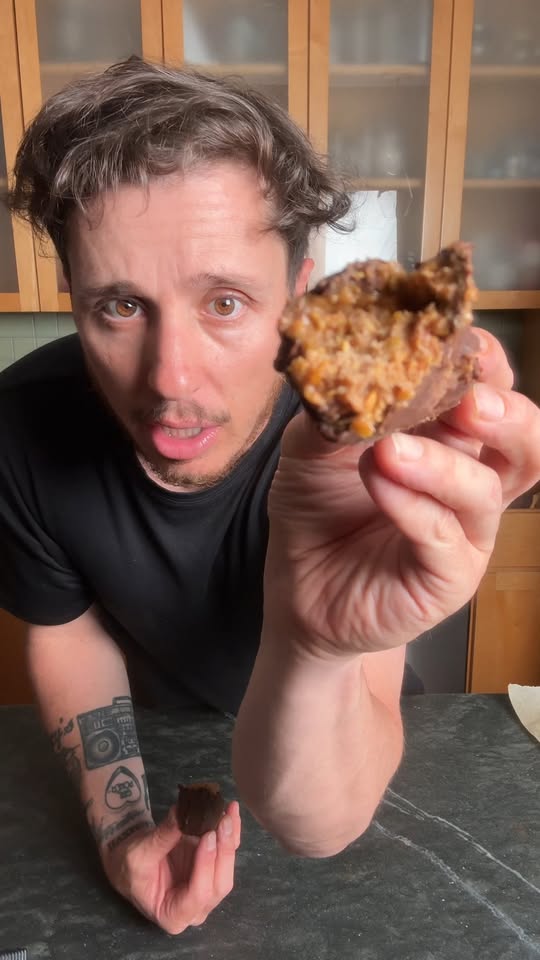
Homemade Butterfinger-Style Candy Bars
Corey B shared this in a Facebook post. SeeMeCook wrote it up from the post as a full recipe and added ingredient weights and nutrition.
See the original postImported by Doug Gilmore on SeeMeCook
A simple no-bake candy made with crushed cornflakes, peanut butter, and powdered sugar, coated in melted chocolate. The crisp, layered filling is chilled until firm for a homemade Butterfinger-style treat.
- Time
- 2 hours 55 minutes
- Equipment
- Oven, microwave, and blender
- Good for
- Snacks
- Cuisine
- American
- Contains
- Gluten, peanuts, and dairy
- Diet
- Vegetarian
Diet and allergen details are read from the ingredient names and are not certified.
Ingredients
- 75 g
- 385 g
- 30 g
- 340 g
- 14 g
Weights are estimates. Together, the ingredients weigh about 845 g before cooking, which is about 55 g per serving.
Steps
Crush the cornflakes in a food processor until they become fine, even crumbs. Stop before processing them into a completely powdery flour; a little texture helps create the crisp filling.
Place the peanut butter in a large mixing bowl. Use either creamy or crunchy peanut butter, according to preference.
Add the powdered sugar to the peanut butter and stir until evenly combined and smooth.
Add the crushed cornflakes to the peanut butter mixture. Stir thoroughly until all of the crumbs are coated and a cohesive, slightly crumbly mixture forms.
Line a small baking dish with parchment paper, leaving enough overhang to lift out the chilled mixture. The creator notes that a smaller dish works better than a large one so the filling remains thick enough to cut into bars.
Transfer the cornflake mixture to the lined dish. Press it firmly and evenly into a compact layer, smoothing the surface.
Freeze the mixture for 1 to 2 hours, until firm enough to remove from the dish and cut cleanly.
Lift the chilled filling from the dish using the parchment overhang. Cut it into strips or bar-sized pieces.
Return the cut pieces to the freezer while preparing the chocolate coating. Keeping the filling cold helps it hold its shape during dipping.
Place the chocolate chips and butter in a microwave-safe bowl. Microwave in 15-second increments, stirring thoroughly after each increment, until the chocolate is smooth and fully melted. Do not overheat it.
Dip each chilled filling bar into the melted chocolate. Turn it as needed to coat all sides, then allow excess chocolate to drip back into the bowl.
Place the coated bars on a parchment-lined tray or plate. Continue until all of the filling pieces are covered.
Refrigerate the chocolate-coated bars for about 30 minutes, or until the coating has hardened completely. They may also be returned briefly to the freezer if needed.
Notes
Store the finished bars refrigerated in an airtight container. The chocolate-chip bag size and the amount represented by “one knob” of butter were not specified in the transcript, so they are estimated here. Choose a relatively small baking dish to make a substantial filling layer rather than spreading the mixture too thin.
Nutrition
These are estimates per serving, worked out from the ingredients.
- Calories
- 279
- Protein
- 8 g
- Carbs
- 23 g
- Fat
- 19 g
- Fiber
- 3 g
Where the calories come from
Keep this recipe
Save it to your SeeMeCook library, add it to your grocery list, and cook it hands-free with each step read aloud.
Open in SeeMeCook


