Imported from the web
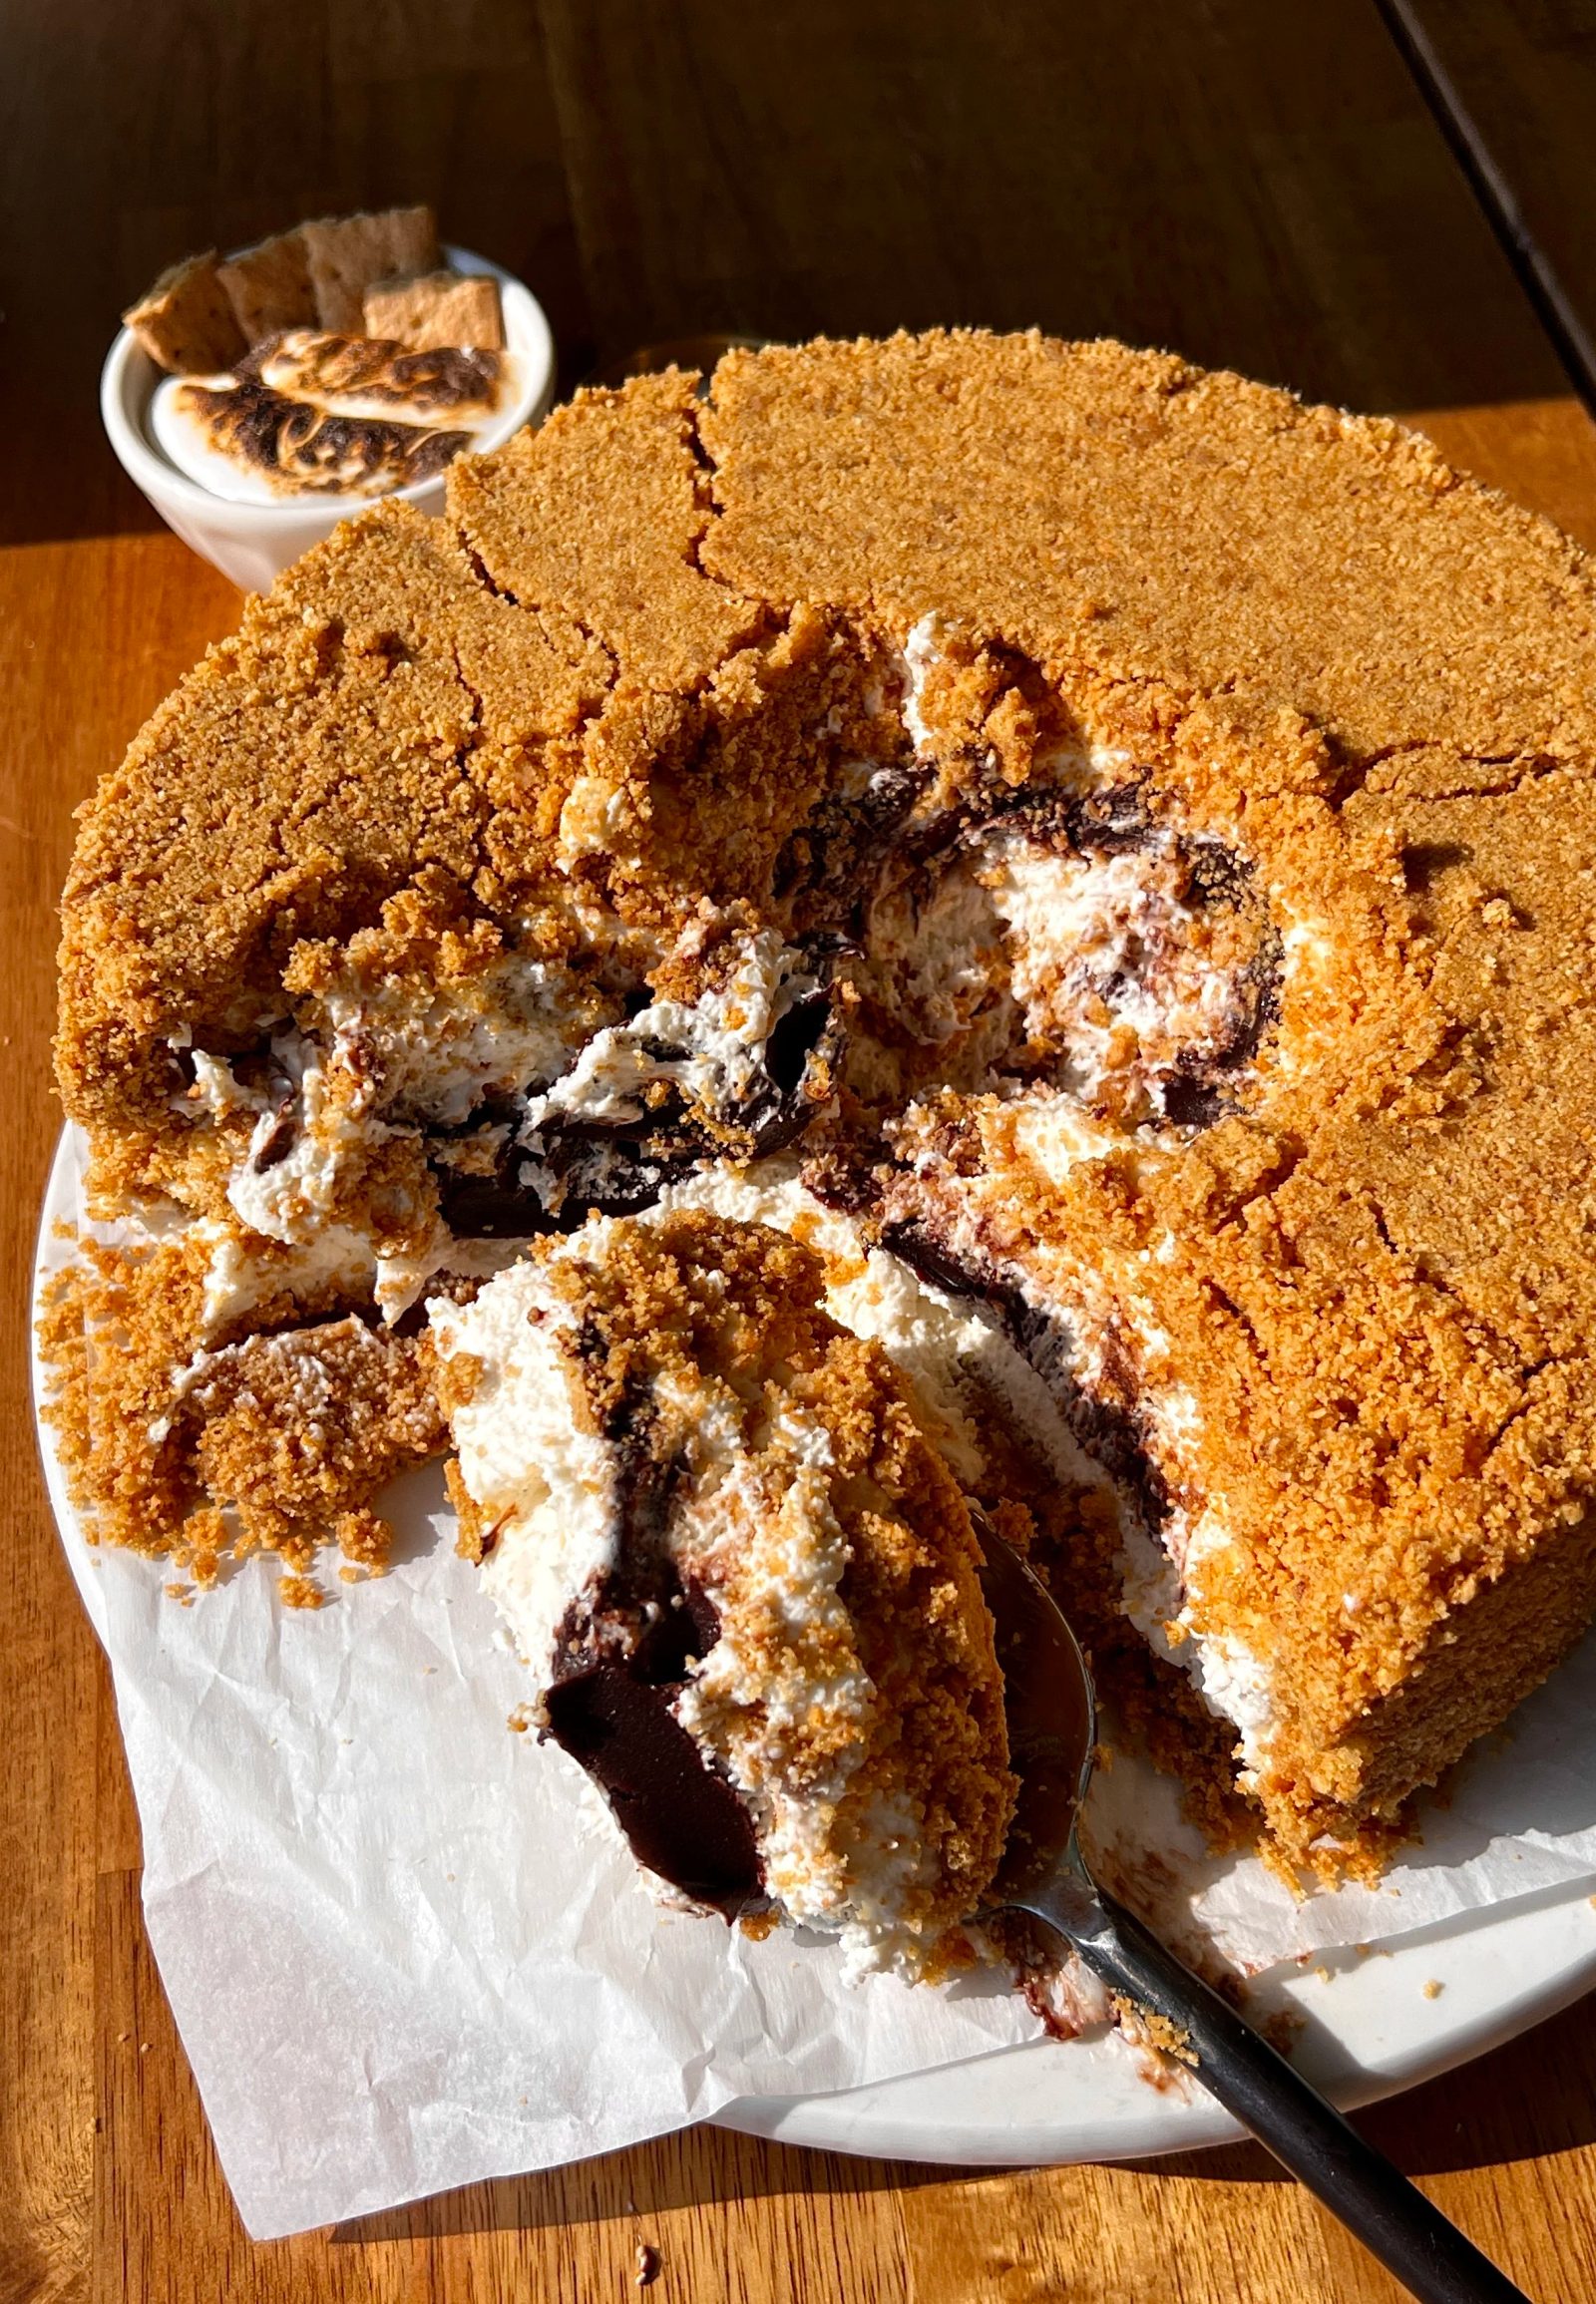
Fully Crusted Upside-Down S'mores Cheesecake (No-Bake)
A stunning no-bake twist on a classic s'mores dessert featuring a buttery graham cracker crust that fully encases a toasted marshmallow cheesecake filling and a rich hot fudge center. Inverted before serving, it offers a fun, interactive experience as you smash through the crust to reveal the gooey layers.
Cook this recipe, hands-free
Open it in SeeMeCook for step-by-step Cook Mode, built-in timers, and your whole recipe library — free to start.
Ingredients
- 5.33 cup graham crackers (640g; 5 full sleeves; 45 sheets; crushed (substitution: Biscoff cookies))
- 1.33 cup salted butter (190g; melted)
- 0.25 cup salted butter (58g; for hot fudge sauce)
- 0.66 cup semi-sweet chocolate chips (135g)
- 1 cup half and half (240ml; or heavy cream)
- 0.75 cup granulated sugar (165g)
- 6 tbsp unsweetened cocoa powder (36g)
- 0.25 tsp salt (1g)
- 2 tbsp vanilla extract (27g)
- 1.25 cup heavy cream (300ml; cold)
- 24 oz cream cheese (3 blocks; 678g; room temperature)
- 0.75 cup powdered sugar (90g)
- 1.25 cup marshmallow fluff (150g; or creme (substitution: 20-22 standard marshmallows))
- 0.5 cup sour cream (120g; or Greek yogurt)
- 1 tsp vanilla bean paste (4g; or extract)
- salt (Pinch)
Steps
- 1
Grease a 9” springform pan or cheesecake pan with butter, then line the bottom with a parchment paper circle. Set aside.
- 2
In a medium bowl, stir together the crushed graham crackers (or Biscoff cookies) and melted butter until the crumbs are coated in the butter and resemble wet sand.
- 3
Start by making what is going to be the bottom layer of crust (once inverted). Place about 1/5 of the crust mixture (enough to cover the bottom and be about 1/2” thick; place the remaining crust mixture aside to use later) into the bottom of the prepared pan.
- 4
Use a small measuring cup or ramekin to press down and compact the crust into an even layer. Do not go up the sides, you want this layer to be like one giant hockey puck! Place the pan with the bottom layer of crust into the freezer for at least 15-20 minutes while you prepare the hot fudge sauce.
- 5
In a medium saucepan over medium-low heat, melt the butter and chocolate chips, stirring frequently.
- 6
Once melted, slowly whisk in the half and half (or heavy cream) until combined. Then, whisk in the sugar, cocoa powder, and salt.
- 7
Cook over medium-low heat for 5 minutes, until the mixture comes to a slight boil. Then, reduce the heat to low and simmer for another 2-3 minutes, stirring frequently, until just slightly thickened.
- 8
Remove from the heat and stir in the vanilla.
- 9
Transfer the hot fudge sauce to a heat-safe jar or bowl and allow to cool completely before adding it to the center of the cheesecake. (Tip: placing it in a separate bowl covered with plastic wrap in the refrigerator can speed this up).
- 10
Remove the solid bottom crust layer from the freezer. Gently release it from the springform pan (use a kitchen torch or let sit at room temp for 10 minutes to loosen) and place it on a plate. Return this crust disc to the freezer to stay solid.
- 11
Re-grease your springform pan if needed. Take the remainder of your crust mixture and press the crumbs into the bottom and all the way up the sides of the pan, using a small measuring cup to pack it in very tightly and evenly. Place in the freezer for 15-20 minutes.
- 12
Using an electric hand mixer or a stand mixer fitted with the whisk attachment, beat the cold heavy cream on medium-high speed until stiff peaks form, about 5 minutes. Set aside.
- 13
Toast the marshmallow fluff (or marshmallows). Place fluff in a shallow bowl and use a kitchen torch to toast the top, or spread on parchment and broil briefly in the oven (watch closely!). If using marshmallows, melt in the microwave first, then toast.
- 14
In a large bowl, beat the room temperature cream cheese until smooth. Add the powdered sugar and beat for another minute until well combined.
- 15
Add the toasted marshmallow fluff, sour cream (or Greek yogurt), vanilla, and salt. Beat for another minute until the batter is very smooth.
- 16
Using a spatula, gently fold the whipped cream into the cheesecake filling until fully combined and smooth, being careful not to deflate the cream.
- 17
Remove the main crust from the freezer and spread about 2/3 of the cheesecake filling into the bottom. Use a spatula to push the filling out and up the sides to create a well/crater in the center.
- 18
Ensure the hot fudge sauce is completely cooled and thickened but still runny. Pour all of it into the well you created.
- 19
Scoop the remaining cheesecake filling on top and spread evenly to cover the fudge. Place the prepared crust disc on top to enclose the filling completely.
- 20
Cover the pan with plastic wrap or foil and refrigerate for at least 6 hours or overnight.
- 21
Once ready to serve, place a serving plate upside-down on top of the pan. Carefully and quickly invert it. Gently release the springform pan.
- 22
Smash the crust with a spoon to serve. Optional: finish with a dollop of toasted marshmallow fluff.
Notes
Refrigerating overnight gives the best texture and the cleanest inversion. When inverting, do it quickly and confidently to prevent the cheesecake from shifting. Ensure cream cheese is at room temperature to avoid a lumpy filling.
Nutrition per serving
Every recipe, finally cookable.
Turn your next favorite video into a recipe you can actually follow — ingredients, steps, and times in seconds.
Already have SeeMeCook? Open this recipe →