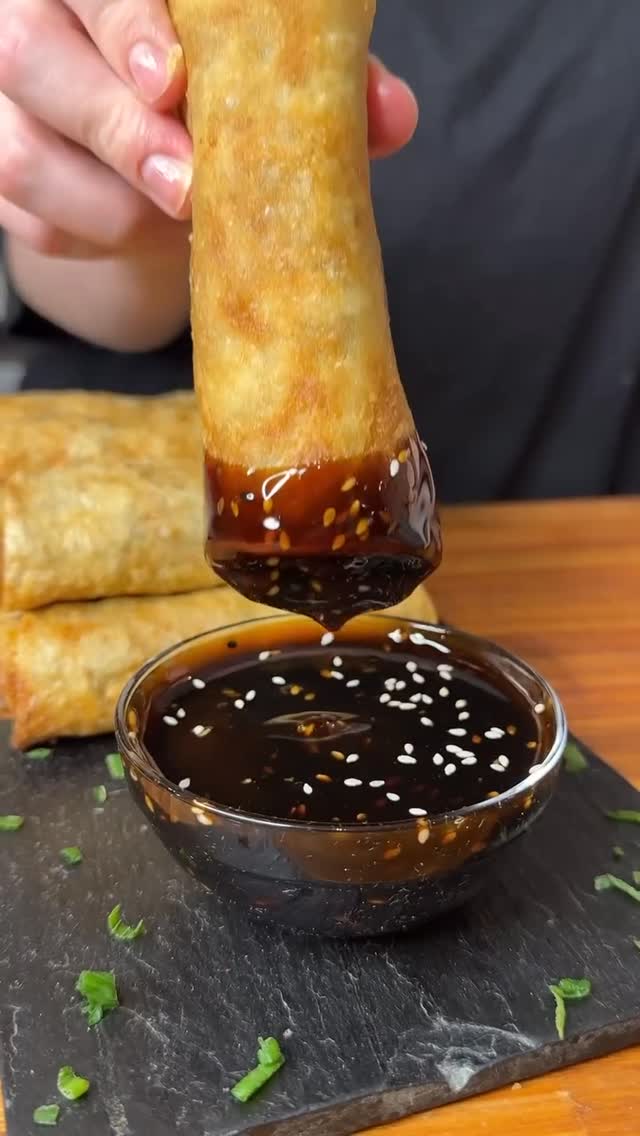
Homemade Chicken Spring Rolls
Translated from Spanish, the language of the reel.
Recetas Sanas y Tips 🍏 cooked this in an Instagram reel, in Spanish. SeeMeCook wrote it up from the reel as a full recipe, translated it into English, and added ingredient weights and nutrition.
Watch the original reelImported by Nazareth Simons on SeeMeCook
Crispy rolls filled with chicken, carrot, cabbage, and green onion, prepared with a simple homemade wrapper. They can be fried, as is traditional, or baked, and served with soy sauce or sweet-and-sour sauce.
- Time
- 75 minutes
- Equipment
- Stovetop and oven
- Good for
- Snacks
- Cuisine
- East Asian
- Contains
- Gluten
Diet and allergen details are read from the ingredient names and are not certified.
Ingredients
Relleno
- 120 g
- 100 g
- 30 g
- 1 g
- 30 g
Masa
- 500 g
Para freír y servir
Weights are estimates. Together, the ingredients weigh about 1.83 kg before cooking, which is about 460 g per serving.
Steps
Cut the chicken into small pieces or mince it. Wash and prepare the vegetables: grate or cut the carrot into thin strips, slice the cabbage very thinly, and chop the green onions.
Heat a large skillet over medium heat. Add the chicken, season with salt and pepper, and add the water. Cook, stirring, until the chicken is completely cooked and no longer pink in the center, approximately 8 to 10 minutes.
Add the carrot, green cabbage, and green onions to the skillet. Cook for 5 to 8 minutes, stirring frequently, until the vegetables are tender but still retain some texture.
Add the soy sauce and ground chili pepper. Mix well and cook for 1 or 2 more minutes, until the filling is flavorful and relatively dry. Remove from the heat and let cool completely before assembling the rolls.
To prepare the wrapper, place the flour and salt in a bowl. Gradually add the water, mixing until a soft, smooth dough forms. The publication indicates using twice as much water as flour.
Knead until the dough is smooth. Cover and let it rest for about 15 minutes so it will be easier to roll out.
Divide the dough into portions and roll each one out very thin, forming approximately rectangular disks or sheets. Place a portion of the cold filling near one edge, fold the sides inward, and roll tightly, like a small parcel.
Moisten the final edge with a little water and press it to seal each roll. Repeat with the remaining dough and filling, making sure there are no openings.
To fry the rolls, heat plenty of oil to approximately 175 °C (350 °F). Add the rolls in batches without overcrowding the skillet, and fry until golden brown and crispy on all sides, about 3 to 5 minutes.
Remove the rolls with a slotted spoon and place them on paper towels to drain the excess oil.
Alternatively, place them on a lightly greased baking sheet, brush or spray the surface with oil, and bake at 200 °C (400 °F) until golden brown and crispy, approximately 20 to 25 minutes, turning them halfway through cooking.
Serve the hot spring rolls with soy sauce or sweet-and-sour sauce.
Notes
The publication does not provide exact quantities or detailed instructions; the quantities and times given are estimates for preparing approximately 12 to 16 spring rolls. The filling should be cooled before wrapping to prevent the dough from tearing. The recipe mentions that they are traditionally fried, but they can also be baked.
Nutrition
These are estimates per serving, worked out from the ingredients.
- Calories
- 414
- Protein
- 36 g
- Carbs
- 56 g
- Fat
- 4 g
- Fiber
- 5 g
Where the calories come from
Keep this recipe
Save it to your SeeMeCook library, add it to your grocery list, and cook it hands-free with each step read aloud.
Open in SeeMeCook


